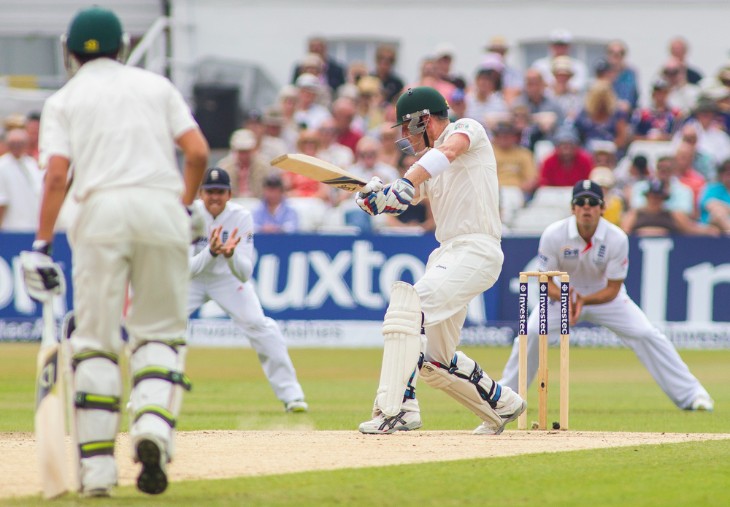
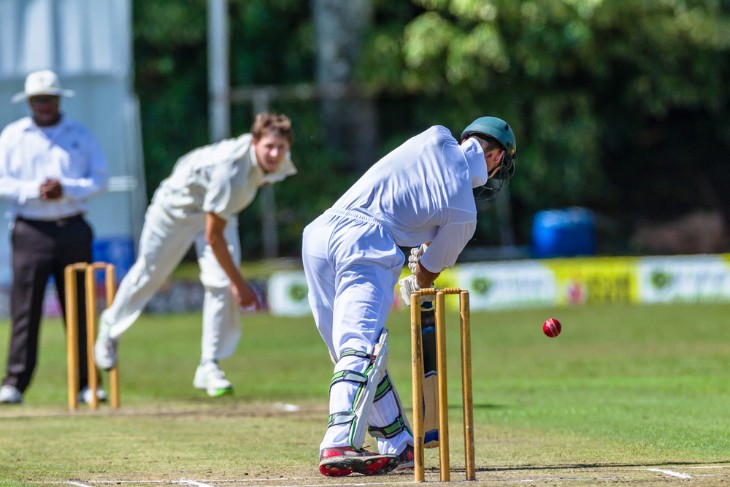
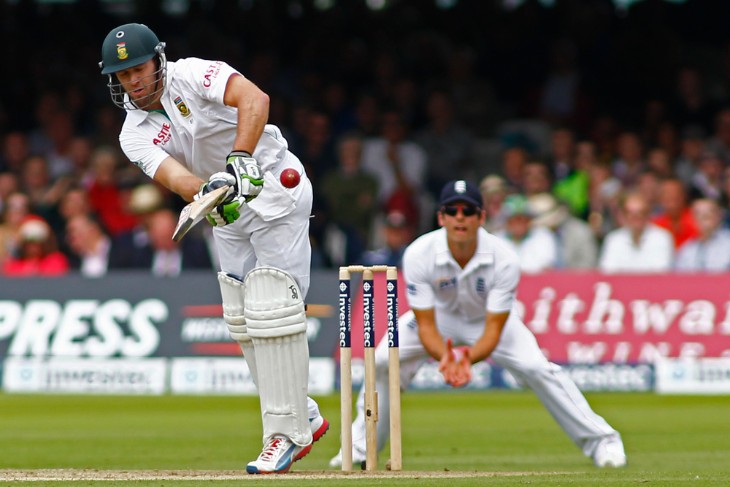
The preparation of a cricket pitch is a critical aspect that greatly influences the game. A well-prepared pitch not only ensures a fair competition but also contributes to the safety and performance of the players. The pitch, a rectangular area in the centre of the cricket field, is where most of the game's action takes place. Its preparation involves several stages, starting from selecting the soil and grass type to regular maintenance and marking.
Key factors in preparing a cricket pitch include its dimensions, soil type, and grass coverage. The standard pitch length is 22 yards (20.12 meters), with a width of 10 feet (3.05 meters). The type of soil used can vary, but it generally needs to be able to compact well to provide a hard surface for the ball to bounce. The grass, ideally, should be short and even, providing minimal interference with the ball's trajectory. Understanding these basics sets the foundation for more detailed steps in pitch preparation.
Selecting the Right Type of Grass
The selection of the right type of grass is crucial for cricket pitch preparation, as it significantly affects the playability and durability of the pitch. The choice of grass varies depending on the local climate, soil type, and maintenance capabilities. In general, there are a few preferred grass types for cricket pitches:
- Ryegrass: Known for its durability and ability to withstand heavy use, ryegrass is a common choice for cricket pitches in cooler climates.
- Fescue: This grass type is often mixed with ryegrass for its fine texture, which helps in creating a smooth playing surface.
- Bermuda Grass: Common in warmer regions, Bermuda grass is valued for its tolerance to heat and minimal water requirements.
- Couch Grass: Another option for warmer climates, couch grass offers a dense and durable surface.
Each grass type has its specific requirements for sunlight, watering, and soil conditions. Understanding these needs is essential for ensuring the grass remains healthy and provides a consistent playing surface throughout the cricket season. The choice of grass not only impacts the appearance of the pitch but also its behaviour during a game, influencing factors such as ball bounce and seam movement.
Soil Composition and Its Importance
The composition of the soil is a fundamental aspect of cricket pitch preparation. The type of soil chosen affects the pitch's behaviour, including the bounce and spin of the ball. A balanced mixture of clay, sand, and silt is often sought to achieve the desired pitch characteristics. Clay is particularly crucial as it provides the binding property necessary for creating a hard, compact surface. However, too much clay can lead to cracking and uneven bounce, particularly in dry conditions.
Soil preparation involves careful consideration of the local climate and drainage capabilities. Good drainage is essential to prevent waterlogging and ensure the pitch can recover quickly after rain. Conversely, the soil must also be able to retain sufficient moisture to prevent it from becoming too dry and brittle. Regular testing of soil composition is an integral part of pitch maintenance, ensuring the balance of elements remains suitable for optimal pitch conditions.
Essential Tools and Equipment for Pitch Preparation
The preparation of a cricket pitch requires a range of tools and equipment. Each piece plays a specific role in ensuring the pitch meets the required standards for cricket play. Some of the essential tools and equipment include:
- Rollers: Used for flattening and compacting the soil. Heavy rollers are used for initial rolling, while lighter ones are used for regular maintenance.
- Mowers: Essential for keeping the grass at the ideal height. Cylinder mowers are commonly used for their precision cutting.
- Scarifiers: Used to remove thatch and moss, and to aerate the soil, encouraging healthier grass growth.
- Watering Systems: Crucial for maintaining the moisture level of the pitch. Sprinkler systems are often used for even water distribution.
- Covers: Protect the pitch from rain and extreme weather conditions. These are particularly important in regions with unpredictable weather.
In addition to these, various hand tools such as spades, forks, and rakes are used for more detailed work on the pitch. The right equipment, maintained in good condition, is vital for preparing and maintaining a cricket pitch that is both challenging for the players and fair in its behaviour.
Initial Ground Preparation: Levelling and Rolling
The initial preparation of the cricket ground involves critical steps of levelling and rolling, which set the stage for a high-quality pitch. Levelling is the process of ensuring the surface is flat and even, which is fundamental for a fair game. An uneven pitch can lead to unpredictable ball behaviour, compromising the safety and competitiveness of the match. Levelling is usually done with the help of specialised equipment such as laser-guided levelling tools, which ensure precision.
Once the ground is levelled, rolling is commenced. This process involves using heavy rollers to compact the soil, which helps in creating a hard surface that offers consistent bounce. The rolling is done in several phases, starting with a heavier roller to compact the deeper layers of soil, followed by lighter rollers for the surface. The moisture content of the soil is a critical factor during this phase; too dry, and the soil will not compact effectively, too wet, and it may become too compacted, leading to a risk of cracking.

Sowing the Grass: Techniques and Timing
The sowing of grass is a delicate process that requires attention to detail to ensure a high-quality pitch. The timing of sowing is crucial and largely depends on the climate and the type of grass being used. In general, grass is sown during periods of mild weather, which allows for optimal germination and growth. This is typically in the spring or early autumn, avoiding the extreme temperatures of summer or winter.
The technique of sowing also plays a significant role in the quality of the pitch. The grass seeds are evenly distributed across the prepared soil, often using a mechanical seeder for consistency. Following sowing, the seeds are lightly covered with soil and then rolled to ensure good seed-to-soil contact, which is vital for germination. Regular watering, especially in the initial stages of growth, is essential to provide the necessary moisture for the seeds to germinate. The newly sown pitch requires careful monitoring and maintenance to ensure the grass establishes well and creates a dense, even turf suitable for cricket.
Regular Maintenance: Watering and Mowing
Maintaining a cricket pitch is a continuous process that involves regular watering and mowing, both of which are crucial for the health and consistency of the playing surface. The watering regime for a cricket pitch must strike a balance between maintaining adequate moisture levels and avoiding over-saturation, which can lead to a soft pitch with reduced bounce. The frequency and amount of watering depend on several factors, including the type of grass, soil composition, and prevailing weather conditions.
Mowing is another critical aspect of pitch maintenance. Regular mowing helps in achieving a uniform grass height, which is essential for consistent ball behaviour. The standard height for a cricket pitch is between 3 to 4 mm, and maintaining this requires frequent mowing during the growing season. The key points in regular maintenance include:
- Watering Techniques: Utilising sprinkler systems for even distribution, and adjusting schedules based on weather forecasts and soil moisture levels.
- Mowing Patterns: Employing different mowing patterns to avoid grass leaning in one direction, which could affect the ball's movement.
Pitch Marking: Guidelines and Precision
Pitch marking is the process of applying lines on the pitch to denote the batting and bowling creases, as well as the popping and return creases. These markings are critical for the game, as they define the legal positions for bowlers and batsmen, and are used for making various decisions during play. The precision of pitch marking is therefore of utmost importance, as even small deviations can significantly impact the game.
The International Cricket Council (ICC) provides specific guidelines for the dimensions and positioning of these marks. For example, the bowling crease must be 8 feet 8 inches (2.64 meters) in length, and the popping crease must be 4 feet (1.22 meters) in front of and parallel to the bowling crease. The marking process typically involves the use of string lines and marking machines to ensure straight and accurate lines. The key aspects of pitch marking include:
- Accuracy: Ensuring the markings are precisely measured and aligned as per the official guidelines.
- Visibility: Using high-quality, weather-resistant paint to ensure the markings remain visible throughout the match, regardless of weather conditions.
Managing Common Pitch Problems
Cricket pitches, like any sporting surface, are susceptible to various problems that can affect their quality and playability. Common issues include the formation of bare patches, weed infestation, soil compaction, and pest attacks. Each of these problems requires specific management strategies to ensure the pitch remains in optimal condition for cricket.
Bare patches, often caused by excessive wear or fungal diseases, can lead to uneven ball bounce and pose a risk to players. Regular overseeding and application of appropriate fungicides can help in managing this issue. Weed infestation not only affects the appearance of the pitch but can also alter the surface characteristics, leading to inconsistent play. Regular weeding and the use of herbicides are effective in controlling this problem. Soil compaction reduces air and water infiltration, impacting grass health and pitch firmness. Aeration techniques, such as hollow tining or spiking, are essential to alleviate soil compaction. Pest attacks, such as grub infestations, can cause significant damage to the grass. Timely identification and treatment with suitable insecticides can mitigate this issue.

Preparing for Different Weather Conditions
A cricket pitch's preparation and maintenance are heavily influenced by weather conditions, which can vary greatly. Different weather scenarios require specific approaches to ensure the pitch remains playable and maintains its quality.
- Hot and Dry Conditions: In such conditions, the pitch can become excessively hard and dry, leading to cracks and uneven bounce. Key strategies include:
- Regular watering to maintain moisture levels without causing waterlogging.
- Using covers to protect the pitch from direct sunlight and reduce moisture loss.
- Wet and Rainy Conditions: Excessive moisture can make the pitch soft and slow, affecting the pace of the game. The focus here is on:
- Ensuring good drainage to prevent waterlogging.
- Using pitch covers to protect against rain and allowing the surface to dry effectively.
- Cold Conditions: Cold weather can slow down grass growth and make the soil harder. It is important to:
- Adjust mowing heights to prevent stress on the grass.
- Use germination sheets to encourage grass growth in cooler temperatures.
Adapting to these varying conditions is crucial for maintaining a pitch that is fair and consistent for cricket throughout different seasons and weather scenarios.
Seasonal Considerations in Pitch Care
The care and maintenance of a cricket pitch vary significantly with the seasons, requiring different approaches throughout the year. In spring, the focus is on preparing the pitch for the upcoming cricket season. This involves scarifying to remove thatch, overseeding to ensure a dense grass cover, and beginning the regular mowing and rolling routine to get the pitch into playing condition. Fertilisation is also crucial during this time to provide the necessary nutrients for grass growth.
During the summer, which is the peak cricket season, the emphasis is on maintaining the quality of the pitch. Regular mowing, watering, and rolling are essential to keep the pitch in optimal condition. Managing the wear and tear caused by frequent use is also a key aspect of summer care. As autumn approaches, the focus shifts to repairing the damage from the season and preparing the pitch for winter. This includes aeration to relieve soil compaction, top dressing to level the surface, and applying autumn fertilisers to strengthen the grass against colder temperatures.
Conclusion
Preparing and maintaining a cricket pitch is a meticulous and ongoing process that requires a deep understanding of various factors including soil composition, grass types, and seasonal changes. From initial ground preparation to regular maintenance and adapting to different weather conditions, each step plays a vital role in ensuring the pitch meets the high standards required for cricket. The quality of the pitch not only impacts the game's playability but also the safety and performance of the players. Through careful planning, the right techniques, and regular upkeep, a cricket pitch can be maintained at its best, offering a fair and exciting playing field for all levels of cricket.


